Senin, 21 Juni 2010

Photography For the Homebound By Paul A Todd

Although travel is possibly the greatest inspiration for photography, it is not always possible to get away. You may be on a tight schedule with work, bound by social commitments, or simply on a tight budget. Yet you have the bug! You want to take and make more photographs - so what, then?
Much as I would like to be off taking photos of exotic locales it is generally not possible. And taking photos locally all the time can get pretty boring, but there are things that you can do.
1. Weather: Take advantage of changes of weather. I always hear people complain about rain but I rarely do - it is a photographer's best friend. Rain brings out colours that are otherwise hidden. Overcast skies create an even light so everything is exposed equally. It looks great in black and white, too, and reflections off wet roads, buildings, cars, anything, have a particular sheen. If the sun comes out then it is great for high-key photos. Do not be afraid to shoot into the sun and get a bright overexposed shot because they can look highly dramatic.
2. Choose a different time: just that. Take photos at a different time of day and get a different kind of light. The sun has just set and now you're doing night photography. Take advantage of the different conditions. Use the artificial lights to gain exposure, get in amongst the light and use the contrast between the dark of the night and the brightness of car headlights, shopfronts, etc.
3. Abstracts: We see our world every day and often do not notice all that much after the 100th time. But there are details that we can find that can make great photos in their own right - a rusty gate, peeling paint, a worn wooden fence or lichen growing on rocks. Some up-close abstracts can look like landscapes in their own right as we scale down our vision. There are whole worlds in the miniature.
4. Portraits: I have long been a bit funny about taking portraits and I should get over it. It's the personal nature of them that can be a little unnerving for me, yet they are a great opportunity for photography.
5. Home studio: 'I live in a small place and have no room for a studio', I hear you cry. (I've got excellent hearing.) But a little improvisation with a large sheet of paper can provide you with a mini-studio and any interesting artefacts will do - experimentation is the key. In this age of digital photography, there is no worry about running out of film. I take many shots that don't work out, but then one or two do very nicely and it is worth the small effort that it took to get them.
6. The ordinary: Not every shot has to be a blockbuster. Some of my favourite shots are also very ordinary and it is their ordinariness that makes them interesting to me. We live in the ordinary world and so why should that not be celebrated?
7. Post processing: Go through your old shots and using whatever software you have, bought or free, play around with them. Be aware that special effects can be gaudy and unattractive, and the simplest effects (unless you are a photoshop wiz) are usually the most effective. An ordinary shot can gain a special ambience simply by making it black and white, adjusting the white balance or adding a little soft focus. The image can be altered and recombined in layers with itself to create an enhanced image, as with the Orton Effect.
There is never any really good excuse aside from sickness for(ezinearticle.com)

Take Better Pictures By Carol Culver De Leo

3 Tips on How To Take Good Pictures
Whether you use your phone camera or a high quality digital camera, here are a few tips to help you take better digital pictures.
Sometimes a scene comes too quick and you just have to act fast to try and catch the shot.
If you have the time though, think about how you want to frame your shot. What is it about the view that you want to capture and share with others?
How To Take Good Pictures
Take an objective view of how the image appears on your screen. Are there any telephone poles sticking out ruining the shot? Can you move the camera over slightly to get an unwanted object out of the frame? Does Uncle Bob look like he has flowers sprouting out of his head because of the background behind him?
After taking the shot, review it. Does it reflect what you are trying to share with your photo? Sometimes it is a good idea to take several shots. When you get back home and upload your images you can choose the best one and delete the others.
Try Different Angles
When taking digital shots of people, pay attention to the angle of your camera. Avoid shots looking up at people, hold you camera at an angle that is even with or slightly above your subject.
When I take photos of people, I always try to get the most flattering shot. We all want to look our best when a picture is taken of us. If a shot I have taken turns out poorly, I will toss it out rather than offend anyone....
I was once humiliated on Facebook. Someone posted a photo that was a really embarrassing image of me. I was standing next to a baby elephant feeding it, and my dress was billowed out and I looked twice as big as the elephant. Needless to say, I threw that dress away.
Pay Attention To The Horizon
Besides wanting to get a nice straight horizon line on your shot, you can play around with where you want your horizon line. Do you want it in the middle of the shot, showing an equal part of sky and land? Move your camera around and check out the different effects.
When I first started taking photos with my digital camera I would sometimes forget to check the horizon line in my image frame. I would get home after a day of shooting and discover my beautiful ocean sunset was crooked. / Well, not that crooked, but enough to ruin the photo for me.
I don't know how many images I threw away because they were crooked, until I learned that you can straighten any digital photo with good editing tools.
But it is still important to focus on the horizon, even though it can be fixed. Good photography starts with good images. A digital image can always be edited to improve it, but the less editing the better.
Take the time to frame your shot, check your angle, and watch your horizon, and you will see an improvement in your digital photos.
As hard as we try to take a great photo, sometimes an image just needs a little tweaking to make it perfect. There are wonderful tools for editing your images. You will find a list of free tools and more tips on taking better digital photos at WallpaperWave.com You can also share your work with the world by adding your favorite image to the desktop background collection gallery!  (ezinearticle.com)
The Journey to a Wedding by a Wedding Photographer By Michael Valeriani

The journey to a wedding can be a real nightmare, because a wedding photographer simply cannot be late. If you plan everything carefully, you'll have nothing to worry about; the important thing is planning well ahead. On the few occasions when the photographer is late, the whole wedding comes to a standstill: nobody wants to start the ceremony without the photographer, otherwise all of the long term memories will be compromised. Imagine this: tens of people are sitting in the church just waiting for you to arrive. What are you going to tell when you arrive there an hour late? How are you going to deal with such an embarrassing situation?
Being always late is a real disability. I know of people that are unable to keep a job, because of their time keeping skills. I myself do not keep assistants that are late. A wedding is a very important thing and being late once is enough for me not to hire an assistant again. What I tell them is this: make sure you arrive on time; if you have time keeping problems, then arrive three hours early. There are no excuses for a wedding photographer to be late. Not to talk about the financial losses you could incur into: you can be sure that you will be charged for some extras the bride and groom will incurred into because of you. The journey to a wedding doesn't have to be this stressful, actually it can be quite peaceful and pleasant. Planning early and well, will almost guarantee that you will be there on time.
Your Vehicle:
Whatever vehicle you use (car, van, motorcycle, bicycle), make sure it's well looked after. If you have a vehicle that is more than five years old, I would advise you have it checked out at least a couple of weeks before the event. This is because if there are repairs to be made, you want to be sure you'll get it back before the wedding.
If your car is not reliable, rent one. Nowadays hiring a car can be very cheap and this can easily be included in the expenses bill. Also the vehicle you arrive with tells a lot about the way you work. Much more than you would think.
Imagine: you call a plumber from the yellow pages and he arrives at your home with an old noisy bitten up pickup truck with a dirty camper shell and you can tell he lives in it. Then your neighbor's plumber arrives in the latest van, quietly, a professional advert on the side, wearing a nice work uniform. I bet you would wish you had called the other guy. You will automatically assume your plumber will not do the job properly, or at least not as well as the other guy. First impressions really count a lot.
It's the same with wedding photographers: how you travel tells how you will work. Arrive in style and the bride and groom will already trust you more, even without having touched one of your cameras. They are paying you top dollars and they want to see their money well spent and of course they want to show their family and friends that they have selected a real pro.
Want to know what I do? Just in case that something goes wrong with my car and the journey, I always keep a folding bicycle in the trunk. When such an important thing like a wedding is at stake, you have to think about the unthinkable. What if you get into an accident and your car can no longer be moved? You are still required to attend the event. Remember that accidents do happen and they are not necessarily your fault, but you will be expected to have allowed enough time for them.
This is not a normal 9 to 6 job; you are the person in charge of the only memories the couple will have of their wedding day and it is your duty and main priority do anything in your power to attend AND to be on time (which means early).
Get a membership with the local automobile club, so that you will be prepared for any mishaps and you'll have less worries as there would be someone to help you. Even if you only got a flat tire, could you change it on your own while wearing a nice suit and a white shirt? How clean (or dirty) will you arrive at the ceremony?
Always respect speed limits. Other than dramatically reducing the chances of having an accident, you'll also reduce the chances of being pulled over by the police. Even if you get a straightforward fine, you will waste precious time and you will be upset for most of the day. You are going to create art on commission and your mind needs to be clear, relaxed and happy.
The Journey:
Going to a wedding is not like going to work at rush hour on weekdays, where everything is more or less predictable. Weddings usually happen on the weekend, where sometimes (always if you live in London) unusual road works take place, trains are limited and diversions are in place.
Since it is a weekend and most people do not work, the authorities don't usually give much weight to congestion, which becomes extremely unpredictable and very heavy at times.
If you can, avoid travelling on the day of the wedding. Even if the event takes place at only 50 miles from your home, travel there the day before and stay at a cheap hotel. You will wake up nice and fresh, with plenty of time for everything... maybe even to have a nice walk in the morning before the wedding.
Make sure you know what is going on around you. A good way to do this is to watch the evening news the day before the wedding and to check for the local news website as soon as you get up in the morning. Go to any extent to make the journey go as smoothly as possible.
The Routes:
Always plan at least three routes. The first should be the quickest, the send should be the shortest and the third an emergency alternative. If your route includes a highway, plan an alternative route using local roads. Always think of the unthinkable.
Nowadays we use navigators, which are a fantastic aid in these sort of situations, but do not rely 100% on them. Always carry a city mad and a larger area map. The day before plan your route on a real map and match that with the navigator.
Keep in mind that on the weekend some roads might be closed and diversions might be in place. The journey can be severely altered and delayed, especially on a Saturday morning.
Michael Valeriani
www.find-a-wedding-photographer.com
Independent free advice to find a wedding
photographer in the UK, USA, Canada AND
plenty of advice on countless wedding issues.

Sabtu, 19 Juni 2010

Lensbaby: Bend it baby!

READ TO BOTTOM TO LEARN HOW YOU CAN WIN A LENS BABY FROM UNIQUE PHOTO

Photographers. We are the most critical and observant people on the planet. We demand the highest quality results from our equipment and rightfully so, we are passionate about our work. When a photograph doesn’t come out how we envisioned it, it is like a fisherman who has lost a big catch. He will catch other fish, but the trophy winner has escaped. Photographers are testing the limits of their equipment. At times it seems daunting with so many opinions, charts, and articles out there. Fishing is a little different, but I’m sure there are similar debates about which are the best rods, tackle, and bait.

However even a top of the line fishing rod won’t do you any good if you are trying to catch fish at the town pool. The same goes for photography, an expensive camera and lens mean nothing if you don’t use them in an intelligent way.

Like many others, I was always skeptical of the Lensbaby. It seemed like a nice toy, but a serious photographer like myself didn’t need it. As a view camera user, I understood the principle behind the Lensbaby, but to me it was just a piece of plastic with bellows that you couldn’t lock into place. Well I learned a valuable lesson after spending a couple weeks with a Lensbaby Composer and the full set of optics/accessories. To summarize, the Lensbaby has grown up! 


THE LENSBABY FAMILY

 THE MUSE

I was oblivious, but Lensbaby makes three different style lenses that come in a variety of lens mounts. The Lensbaby I referred to before is now called the “Muse”. It is the least expensive of the Lensbaby line-up, and still lacks the ability to lock focus or adjustment. Yet for some people this is perfect. It’s affordable and fast, you can shoot on the go with ease. In retrospect I wish I had used a Muse for some of my shots as resetting the Composer to zero position (no bend) took some getting used to.


 THE CONTROL FREAK

The “Control Freak” is like a Muse with a serious body kit on it. You can adjust focus and bend the lens and then lock it with the click of a button. Fine focus adjustments can then be made using the barrel on the lens. Tilt/bend can be tweaked with three equally spaced posts on the lens. If I used a tripod all of the time and/or did a lot of critical Macro work I would have used the Control Freak in a heartbeat.


THE COMPOSER
 
The “Composer” was the most appealing to me because it seemed like a happy medium between the Muse and Control Freak. It allows you to focus the lens with a big rubber focus ring and a ball-head allows adjustment of tilt/bend. A ring that sits right in front of where the lens mounts to the camera controls friction of the ball-head. Most of the time I tightened the friction so that I was still able to move the lens, but it would stay put when I took my hand off of it.


 OPTIC SWAP SYSTEM
There are varying options of Lensbabies for different kinds of photographers, but all three lenses are compatible with what is called the “Optic Swap System” Lensbaby has expanded it’s line to include the following: Double Glass Optic, Single Glass Optic, Plastic Optic, Pinhole/Zone Plate, Soft Focus Optic, and Fisheye Optic. The original Lensbaby is most similar to the Plastic Optic.


Each Optic is compatible with magnetic aperture rings that swap out with the use of an included Optic Swap tool that also acts as a storage area for the rings so you don’t lose them!

http://uniquephoto.blogspot.com


ACCESSORIES


Lensbaby makes accessories for the lenses, which allow for even more creativity. There are two (4x and 10x) close-up/macro filters, a wide (.6x) & super-wide (.42x) angle attachments, and a telephoto (1.6x) attachment that screw on to the threads of all Lensbaby Optics (besides the Fisheye Optic). The thread size is 37mm so any other 37mm filters you have will also be compatible with the Lensbaby system!


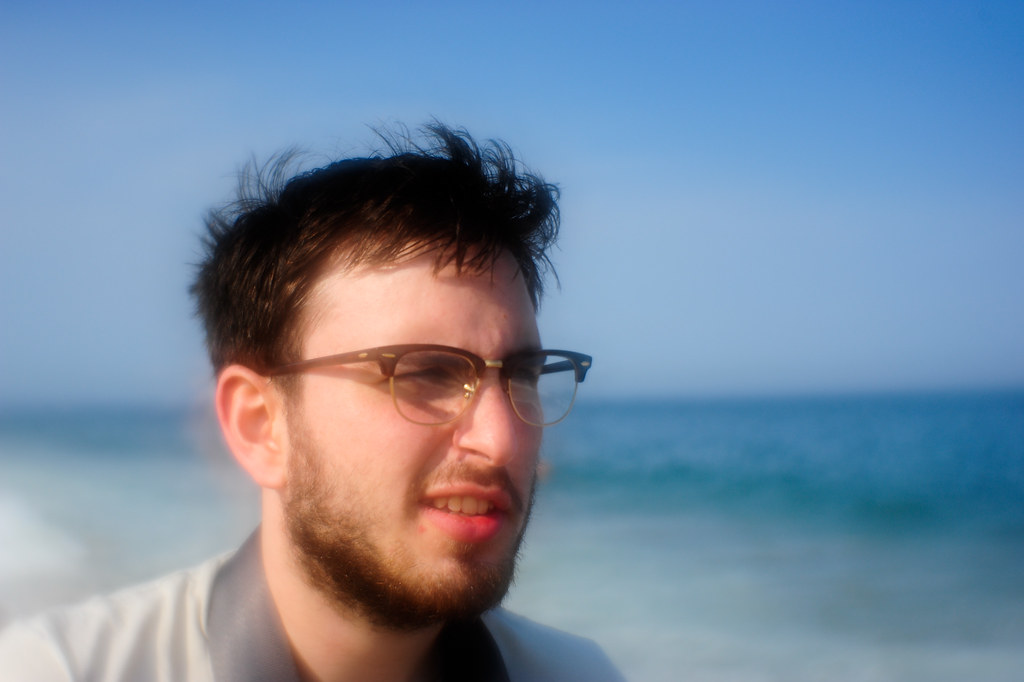
The last accessory is the Creative Aperture Kit that allows you to punch out shapes in a blank magnetic aperture ring. The kit also comes with two pre-made shapes, a heart & a star.  This effects how out of focus areas are rendered and can be quite fun.  Here is an example from Lensbaby's own Kirsten Hunter!


PHOTO BY KIRSTEN HUNTER


MY SAMPLES

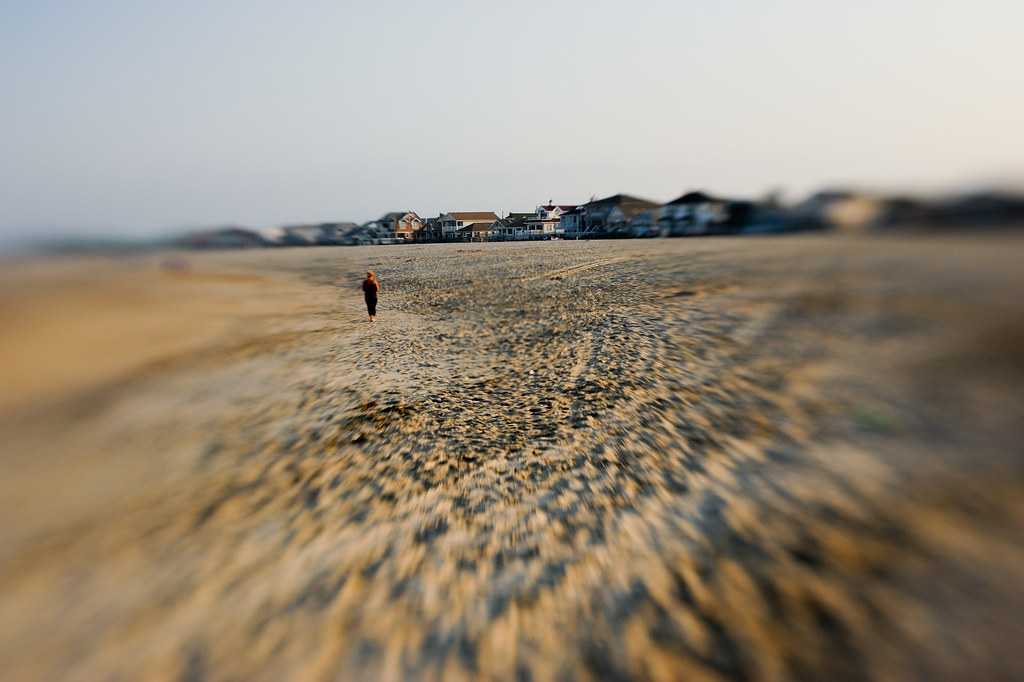
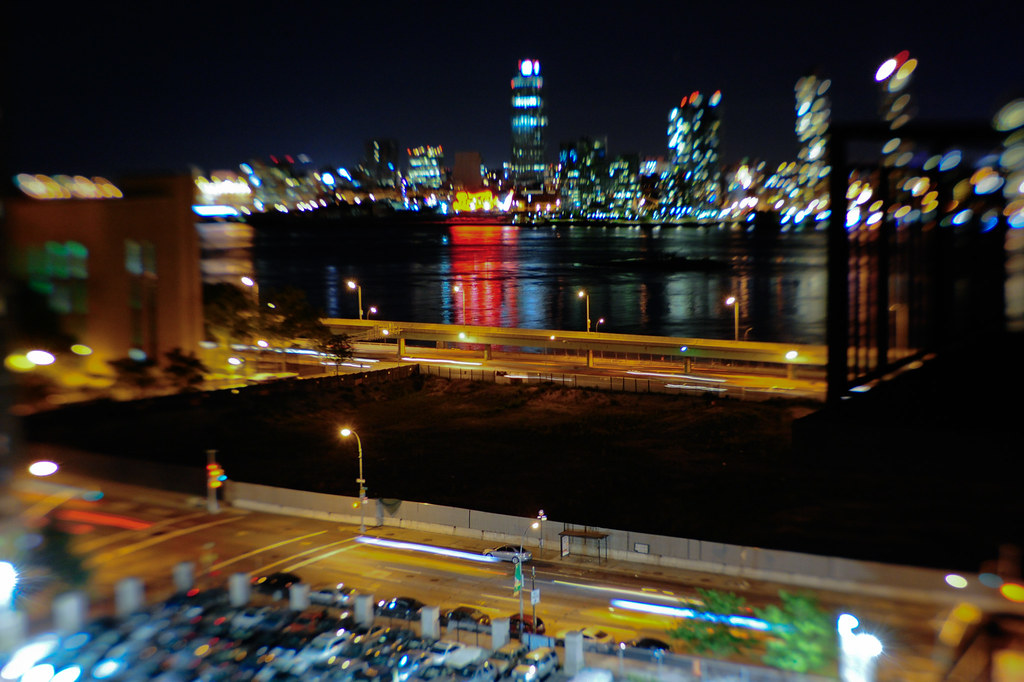
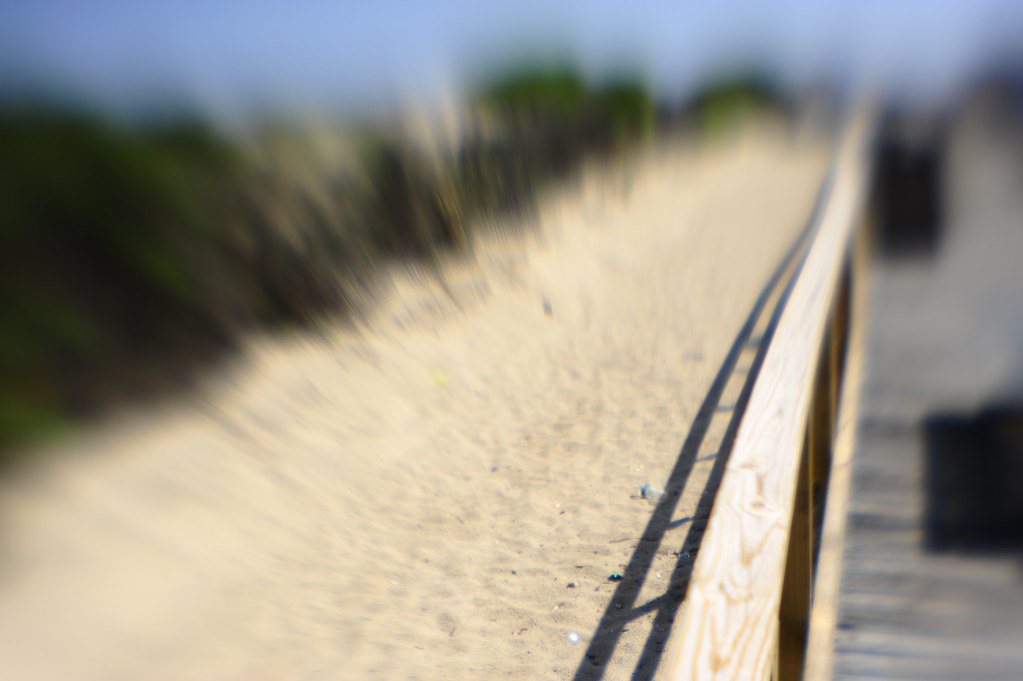
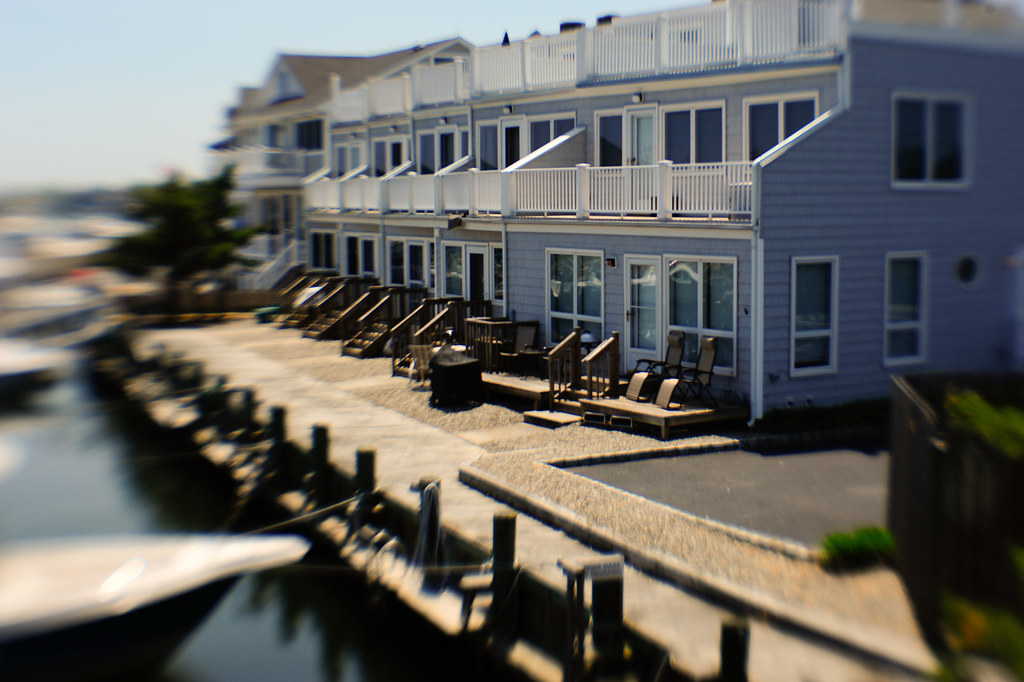
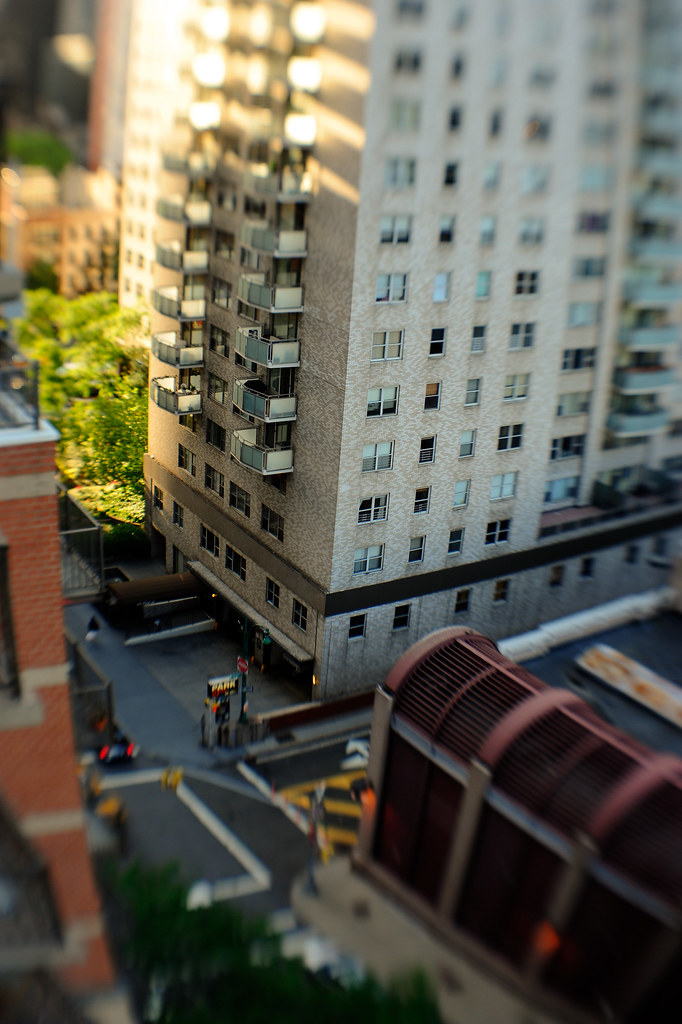
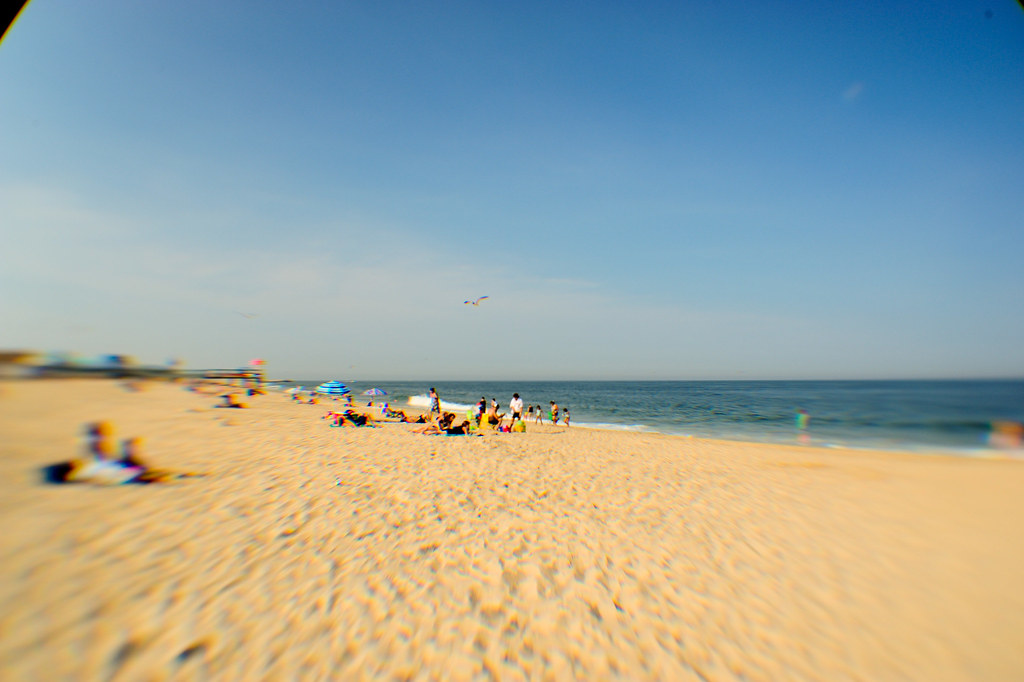
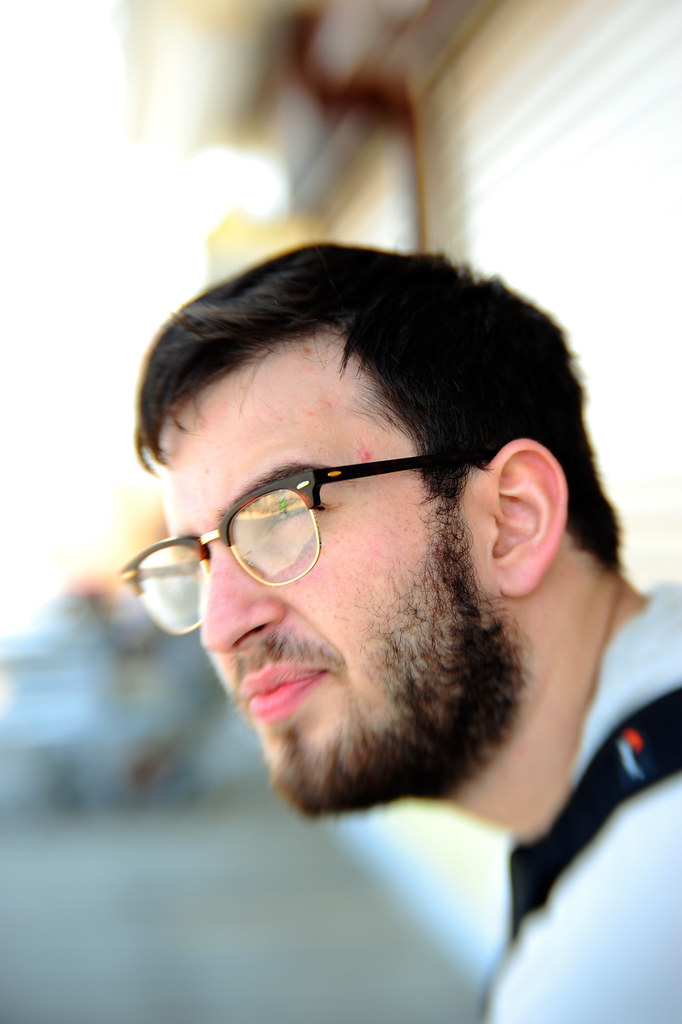
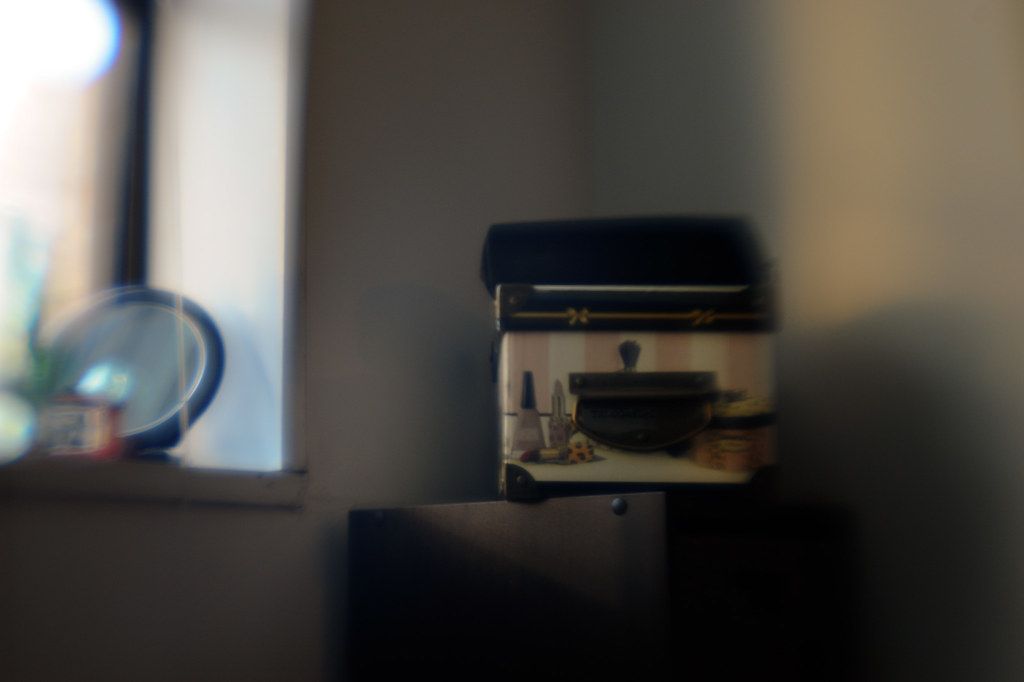
I had a lot of fun using the Lensbaby Composer and all of the different Optics and Accessories. It was liberating to be roaming around the beach and various buildings with my camera, not worrying about silly things like which autofocus point/mode to use or comaplining to myself in my head how heavy my Nikon 24-70 f/2.8G is. (Because I didn't have it with me!) Here are my samples and impressions from each. (click to enlarge!)


DOUBLE GLASS OPTIC
The Double Glass Optic is the sharpest in the Lensbaby Optic Swap System. I’m not going to be replacing my 50mm f/1.4 with this lens, but it allowed me to be creative with depth of field while still keeping the focused part of my image sharp.  The Double Glass Optic comes standard with all three Lensbaby lenses.  Overall I found this to be my favorite optic.  Shot without a magnetic aperture ring, it is equivalent to about f/2.  Aperture rings range from f/2.8 to f/22.


SINGLE GLASS OPTIC
Similar to the original Lensbaby of years past. It still has a place in the lineup. This Optic is softer than the Double Glass, but still maintains a level of sharpness on the focused area, especially when using a smaller aperture like f/5.6 or more. The areas beyond the point of focus become soft and dreamy.  I would only purchase this optic as part of the Optic kit that includes the plastic and soft-focus optic as well.  Some people may enjoy the look, but I found it to be only slightly different than the Double Glass Optic, but not enough to justify buying it instead of trying out the Fisheye or Plastic Optic.


PLASTIC OPTIC

 It is softer than the Single Glass Optic, but again, using smaller apertures renders focused areas to be relatively sharp, but with softer edges and higher levels of chromatic abberation. For those familiar, think Holga.  Out of all of the Lensbaby lenses, I wish I had used this one a little bit more frequently.  I think it has a lot of potential.  Just like the Double/Single Glass Optics,  it has a standard 50mm focal length.


PINHOLE/ZONEPLATE

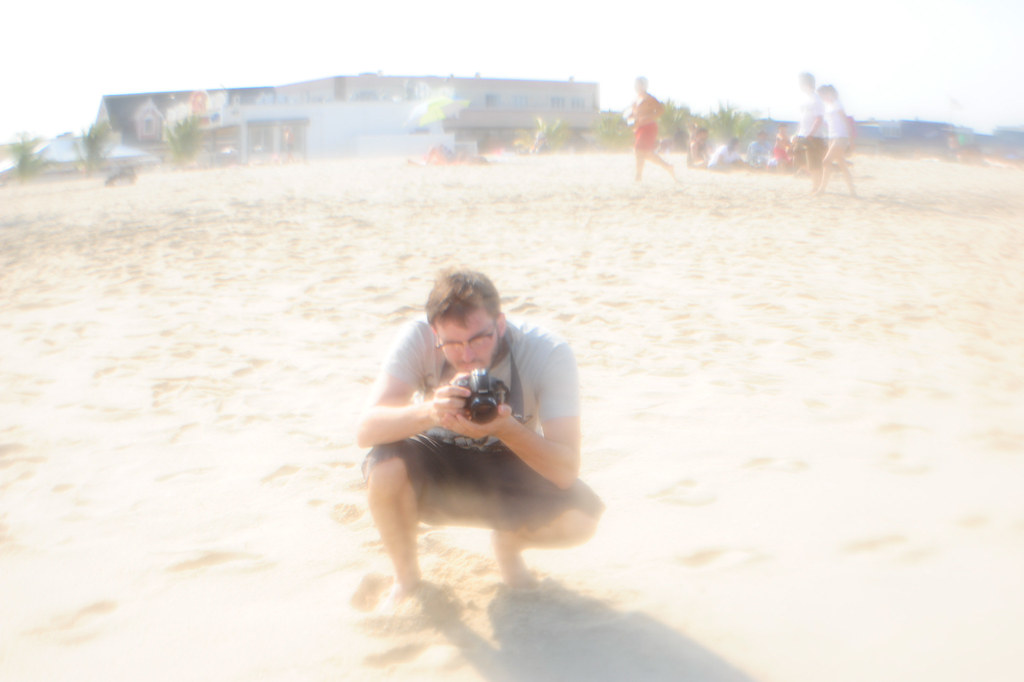
Mimics the traditional look of a pinhole camera. It has two different sized openings, which can be changed by pushing a switch inside of the optic. The larger “Zone Plate” opening is equal to f/19. Remember there is no glass in this optic, so even at “f/19” everything will have a blurred/ethereal effect. The smaller “Pinhole” setting weighs in at f/177 so bring your tripod! Even in bright sunlight, using the viewfinder is difficult on either setting because of the limited amount of light coming through the lens.  The focal length of this Optic is 55mm which is slightly longer than the others.


SOFT-FOCUS OPTIC
 

The Soft-Focus Optic comes with it’s own set of magnetic aperture rings that allow you to adjust the amount of softness. Nothing will be “sharp” but just like any of these Optics, it’s a look that works with certain subjects such as portraits.  I could see film makers really enjoying this optic. 


FISHEYE OPTIC

*A special adapter is required to use the Fisheye Optic with the Control Freak or Muse.*

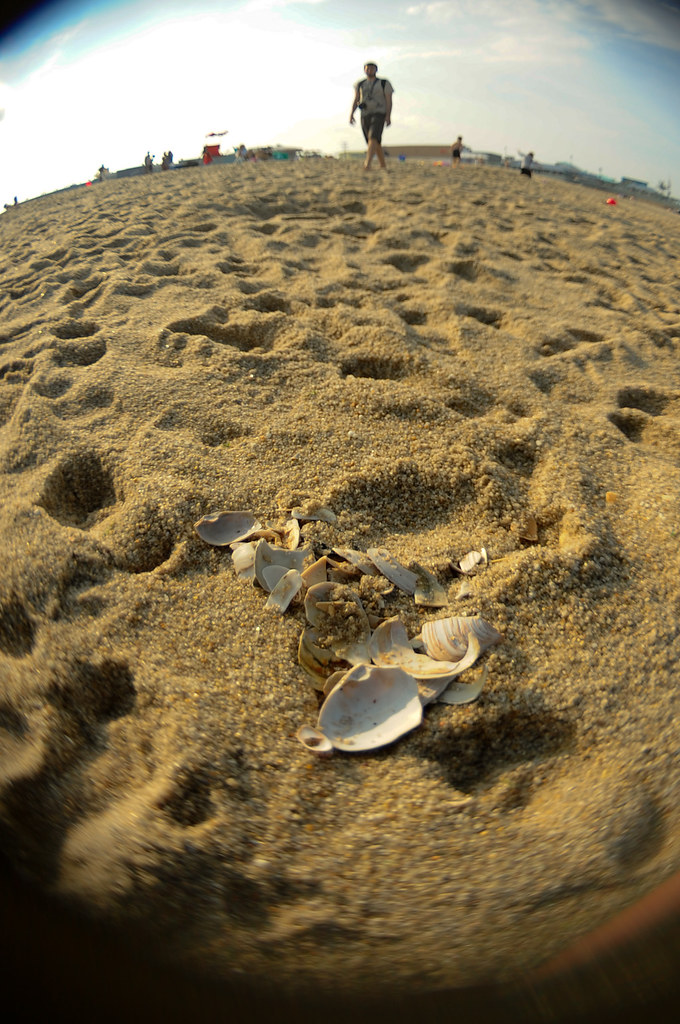
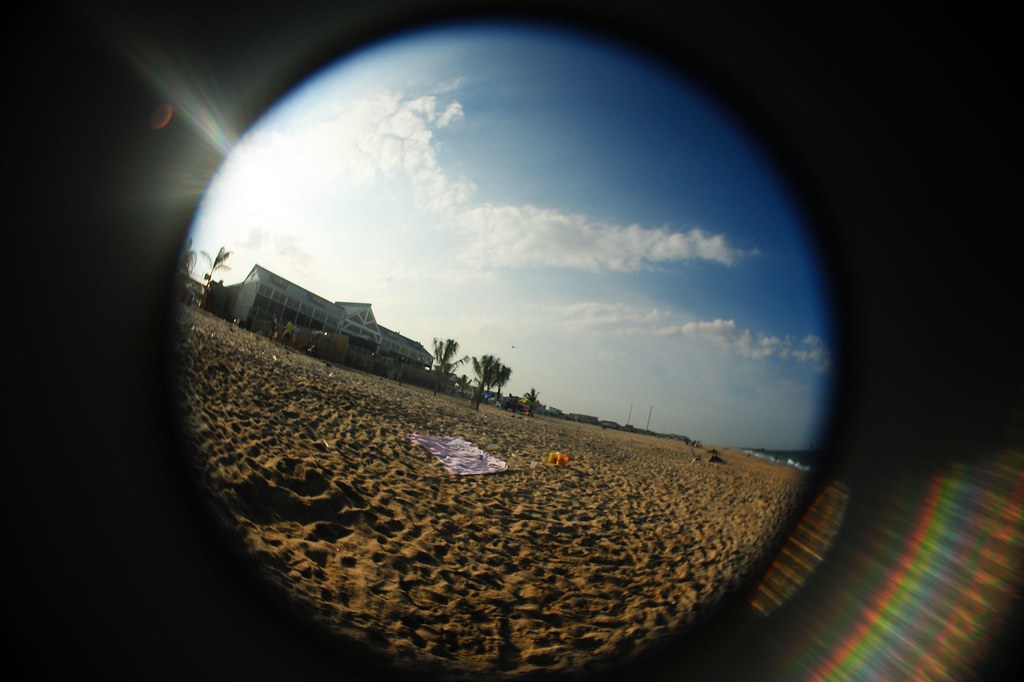
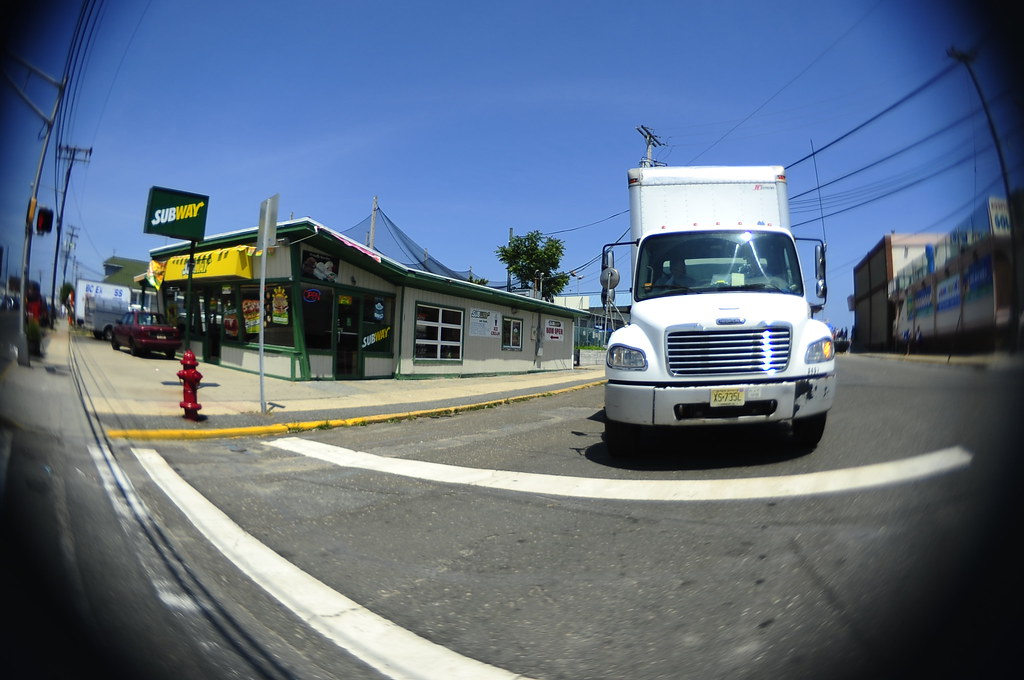
I shot with a FX Nikon D700 so I was able to create fully circular images. On a crop sensor body, you will be able to get the quirky fisheye effect, but not fully circular images. The Fisheye Optic was a lot sharper than I expected. This is a great option for people wanting to experiment with a fisheye lens, but who don’t want to experiment with their bank account for a true Canon or Nikon fisheye.  The focal length is 12mm and without an aperture disk, it is measured to be f/4.  The special (included) FE aperture disks range from 5.6-22.  I was amazed by minimum focusing distance of 1/2 of an inch!


MACRO FILTERS
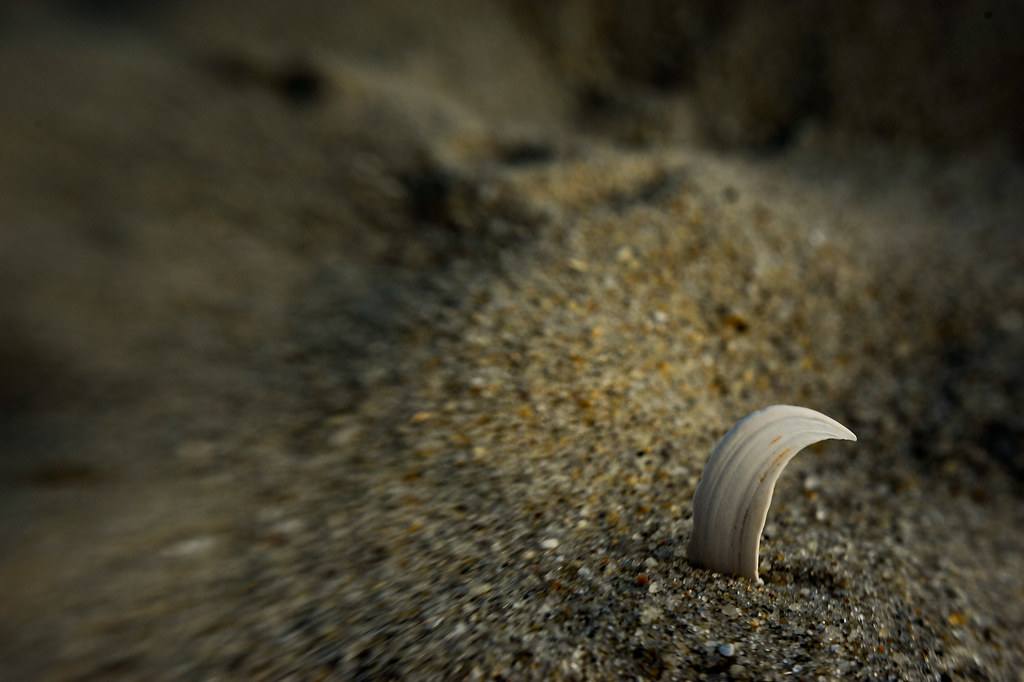
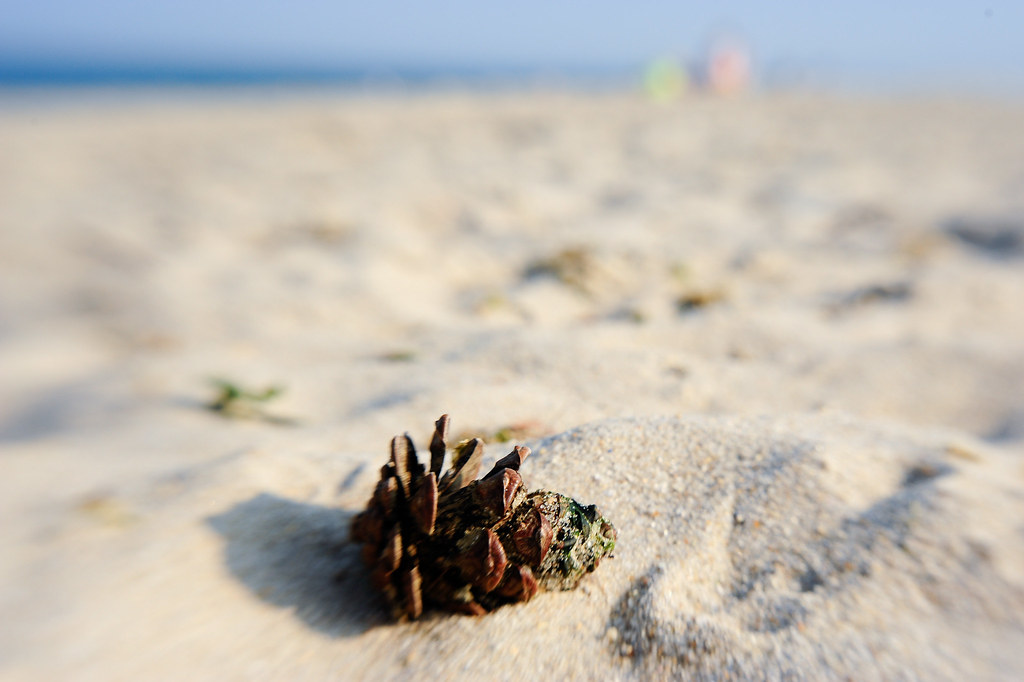
 Great little accessory here for you Macro-holics out there. I have never been much of a Macro shooter, but I was surprised just how sharp the results were. The two (+4 and +10) filters can be stacked so you can get insanely close to subjects. Again this is a great alternative to a dedicated macro lens, which like fisheyes, tend to be pricey.


WIDE, SUPERWIDE, and TELEPHOTO

The 1.6x telephoto was my favorite accessory here. It makes for a nice portrait setup and gave me sharp images when used with the Double Glass Optic. The Wide (.6x) and Superwide (.42x) just didn’t cut it on my D700. For crop sensor cameras these accessories allow for a wider angle, but the limited circle of coverage on a FX sensor discouraged me because I couldn’t bend the lens at all without severe vignetting. It certainly works, but what’s the point of a Lensbaby if you can’t bend it like Beckham?


VIDEO

I am not a cinematographer by any stretch of the imagination, but it was brought to my attention by a co-worker that Lensbaby offers huge potential for those who work with video on the DSLR cameras.  Filmmakers looking to create a special dreamy effect or strange perspective are in for a pleasant surprise.  Here is a short clip shot by Unique Photo's Edward Whittington that demonstrates DSLR video with a Lensbaby.


CONCLUSION

I am not suggesting throwing away your Canon Tilt-Shift or Nikon Perspective-Control lenses. If you have those lenses, you are a professional and you know why you need them. The Lensbaby system doesn’t replace any lens you own, even the standard kit lens that comes with a entry-level DSLR. Rather Lensbaby offers a gateway into various types of photography without committing to a professional specialty lens.

TO THE CRITICS

To me photography has always been and always will be about having fun. If you want to shoot outside of the box a little bit, buy a Lensbaby and use it. You will be surprised what you come up with. Don’t listen to the jaded critics who say “Oh it’s such a tacky/overdone look” You should only be concerned with what makes you excited about photography. Those critics are the ones mashing their keyboards about nonsense on photography forums. They aren’t making time to just go out and shoot for fun. (Isn’t that the reason all of us got into photography?) Whatever you decide to use, have fun with it and push it to its limits.

“There are no rules for good photographs, there are only good photographs.”
-Ansel Adams


 Photo by Craig Strong


If you like what you've seen so far in this review and want to win your own Lensbaby Composer, check out our Lensbaby contest on Flickr.  The contest is free to enter!

All you need is a Flickr account and some good old fashioned creativity. We want to see your best photos from this summer! If you don't have a Flickr account, it's free to sign up and a great place to upload your photos and meet other photographers.  
http://uniquephoto.blogspot.com

THEME: SUMMER FUN
Show us your best image that exemplifies the essence of  "Summer Fun" taken with a Lensbaby or other perspective control optic.

Summer is a special time for everyone.  School is out for the kids and everyone wants to be outside!   It can be the calming sound of the ocean, a big wad of cotton candy, a ferris wheel at a county fair, a barbecue in the park, or the lights of the boardwalk blending into the lingering deep blue sky that appears in the summer right after the sun sets.  Anything that screams SUMMER! We want to see it!

Rabu, 16 Juni 2010

Using a Cloud As a Photography Diffuser in Your Photo Shoot By Bea Allen

One of the most useful equipment that every photographer should own is the photography diffuser. These can smoothen out wrinkles, help control shadows, diffuses light and also tone down harsh contrast. These are undoubtedly essential.
There are a few varied types of photography tools that can be measured a diffuser. It is possible to smear some Vaseline onto the lens since it will diffuse the amount of light that goes in to the camera. It can still be considered a photo diffuser. It is also possible to use a cloud that is passing by the sun as a diffuser for you photo shoot.
In this article, we will think that anything that is put in front of the source of light as a diffuser and also anything that is placed on the lens as a filter. This is a basic concept for this article.
As I mentioned earlier, you can use a cloud as a diffuser in your photo shoot. You can just imagine the sun. In relation to our size on earth, the sun is just miniature little thing that is way up there in the skies. Seeing, as the sun is extremely bright, even though it is small to look at from our view, it builds some quite harsh and black shadows.
Then imagine a white inflated cloud in front of it and see what happens. As you will see, the sunlight will hit the back of the cloud and the light will bounce all over the place. The diffused light will come through the cloud and will turn the entire cloud into a humongous source of diffused light.
The diffused light that comes through is less intense and is softer. Additionally, since the source of light is much bigger, the light has a tendency to wrap around the subject, eliminate, and soften the shadows. All diffusers functions on the same concept. However, if you are in a studio you do not have any clouds floating around. What you can do is place some translucent material in front of your light source and voila, you have a diffuser.
Bea Allen is a photographer with above 15 years experience. He is currently based in New Orleans. To see more about the styles of photography, you can go to www.crystaltrickphotography.com.
Article Source: http://EzineArticles.com/?expert=Bea_Allen

Kamis, 29 April 2010

creative design

creative design, creative foto, creative studio, cretive car, small and cheap for recreation and blogwalking, family walking

Minggu, 04 April 2010

vista background

this is photo , picture from vista background